
Surprisingly, removing the build is actually the exciting part of the SLS 3d printing process! Not watching it as it builds.
Most think watching an SLS while building would be the interesting part of of the process, however because of the way the process builds, there’s actually very little to see.
Here’s a super basic summary of the SLS process:
Your CAD files (parts) are sliced into layers that are .004” thick (approx. 2 hairs). The SLS machine is heated up, the building bed drops by .004” (one slice of your parts) and the roller lays out a layer of power material (such as nylon or rubber-like).
Here’s when the term selective laser sintering comes into play — the laser then goes across the building bed area and selectively sinters (flash melts the slice) making the solid areas solid, one slice at a time. Whatever doesn’t get melted remains as a powder and acts as the support structure. This process will continue layer by layer until the parts are done. As the powder acts as the support structure multiple parts can build all at once.

SLS 3D printing in action, one layer being sintered (melted)
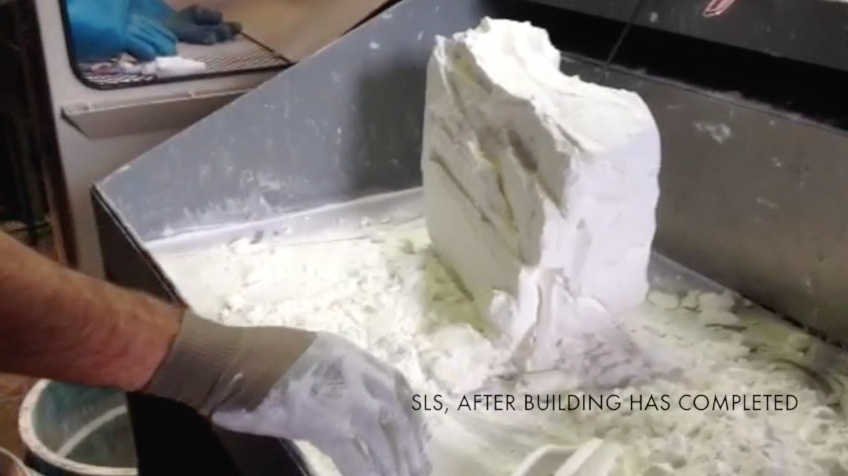
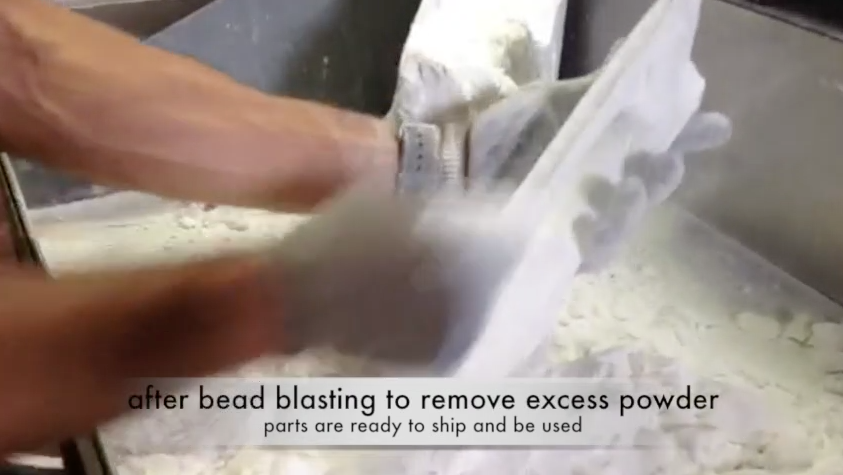
Once the build is complete and the bed has cooled down, a technician removes the block of powder; digs through it like an archaeological dig to find the solid pieces, then removes and cleans away the loose powder by hand and then bead blasting.
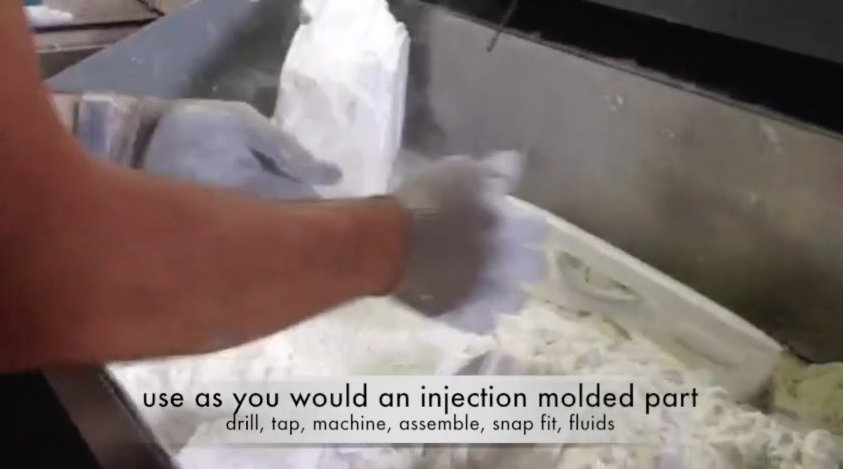
The beauty of SLS parts in nylon 12 is that you can use them just as you would injection molded parts! Although the surface won’t be as smooth and injection molded parts as the material is flash melted vs. into a liquid and extruded, our parts have been used for many consumer and industrial applications as final production parts!